Roof Damage Repair
Wind Damage Roof Repair in New Bedford, MA
Wind damage roof repair in New Bedford, MA starts at the edge metal and wall transitions and ends with a marked roof plan. Send the plan and storm date.
Request a Roof Assessment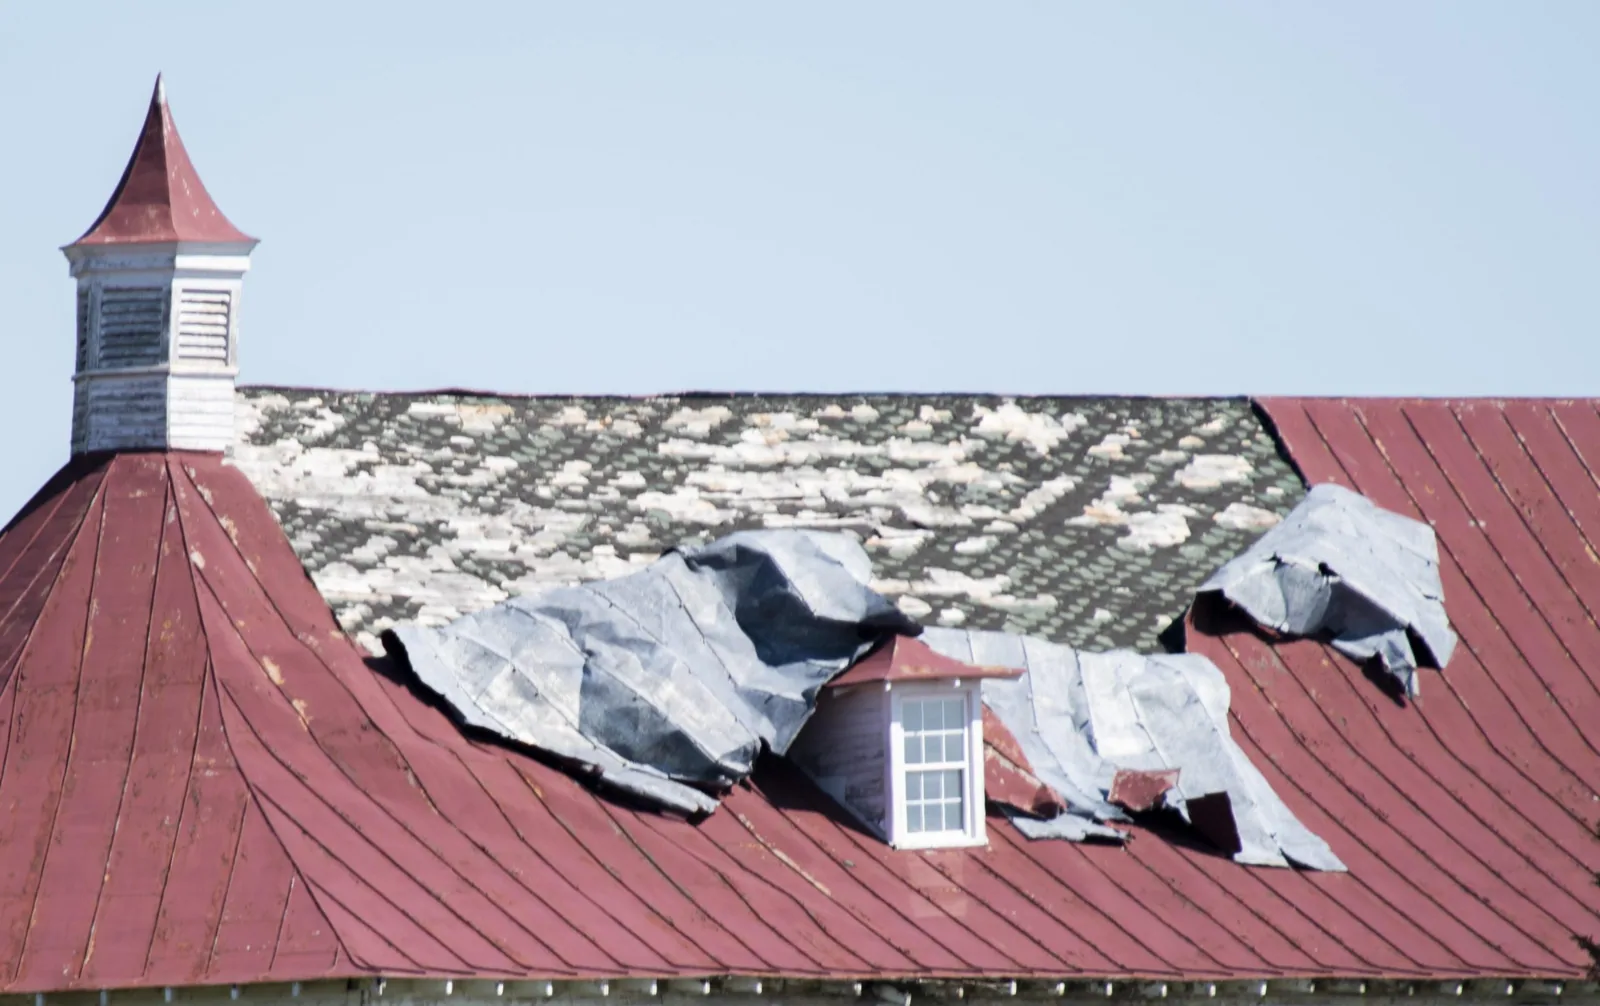
Where did the wind get under the roof first? A facility director looking at a flapping corner of membrane after a coastal blow is usually looking at the second or third thing that failed, and the first one is almost always a loose piece of edge metal or a gravel stop that has pulled away from its cleat. Wind damage repair in New Bedford, MA begins at the perimeter, moves inward along the fastener lines, and ends with every finding marked on the roof plan so the repair follows the cause and not only the tear.
What does the inspector find along the perimeter?
We start with the edge metal because uplift concentrates at corners and along the eaves, where air piles up and pushes against anything that is not fastened tightly. A cleat that has corroded, a coping joint that has opened a quarter inch, or a gravel stop whose fascia has bowed outward gives the wind a lip to grab, and once the membrane edge begins to flutter it works the fasteners loose along the wall one gust at a time.
The probe then follows the lap seams inward from each corner, because a seam that has been tugged for a season often looks closed from standing height and opens under a fingertip. We mark every bent section, every missing fastener and every open lap on the plan with a number, and the repair list follows those numbers.
How did Hurricane Carol and Hurricane Bob shape the roofs here?
Carol in 1954 sent winds of 80 to 110 mph over eastern Massachusetts and a record 20-foot tide into New Bedford; Bob in 1991 added gusts to 89 mph at a Buzzards Bay station, with sustained wind there of 77 mph. Neither storm is a forecast, but both define what a perimeter detail in this city has to survive over its working life.
The practical consequence is simple. A roof that has been repaired after a major blow carries stiffer edge metal and a tighter fastener pattern than the one it replaced, and a roof that has never been through one often has edge details that were sized for ordinary weather. We compare the two on the plan so the owner can see which sections are carrying the load.
The harder case is the roof between those extremes: the one that has seen a dozen ordinary gales and never been looked at. The hurricane damage checklist we use after a named storm applies just as well after a winter nor'easter, because the failure points do not care what the storm was called.
What happens to ballast and loose-laid roofs in a hard blow?
On a ballasted system the first sign is ballast displacement, with stone pushed toward a parapet or piled against a curb and bare membrane exposed at the windward edge. Bare membrane takes ultraviolet damage quickly and can lift, so we re-spread the stone to the design depth, replace any that has blown into the drains, and check that the perimeter pavers or heavier stone are still in place at corners.
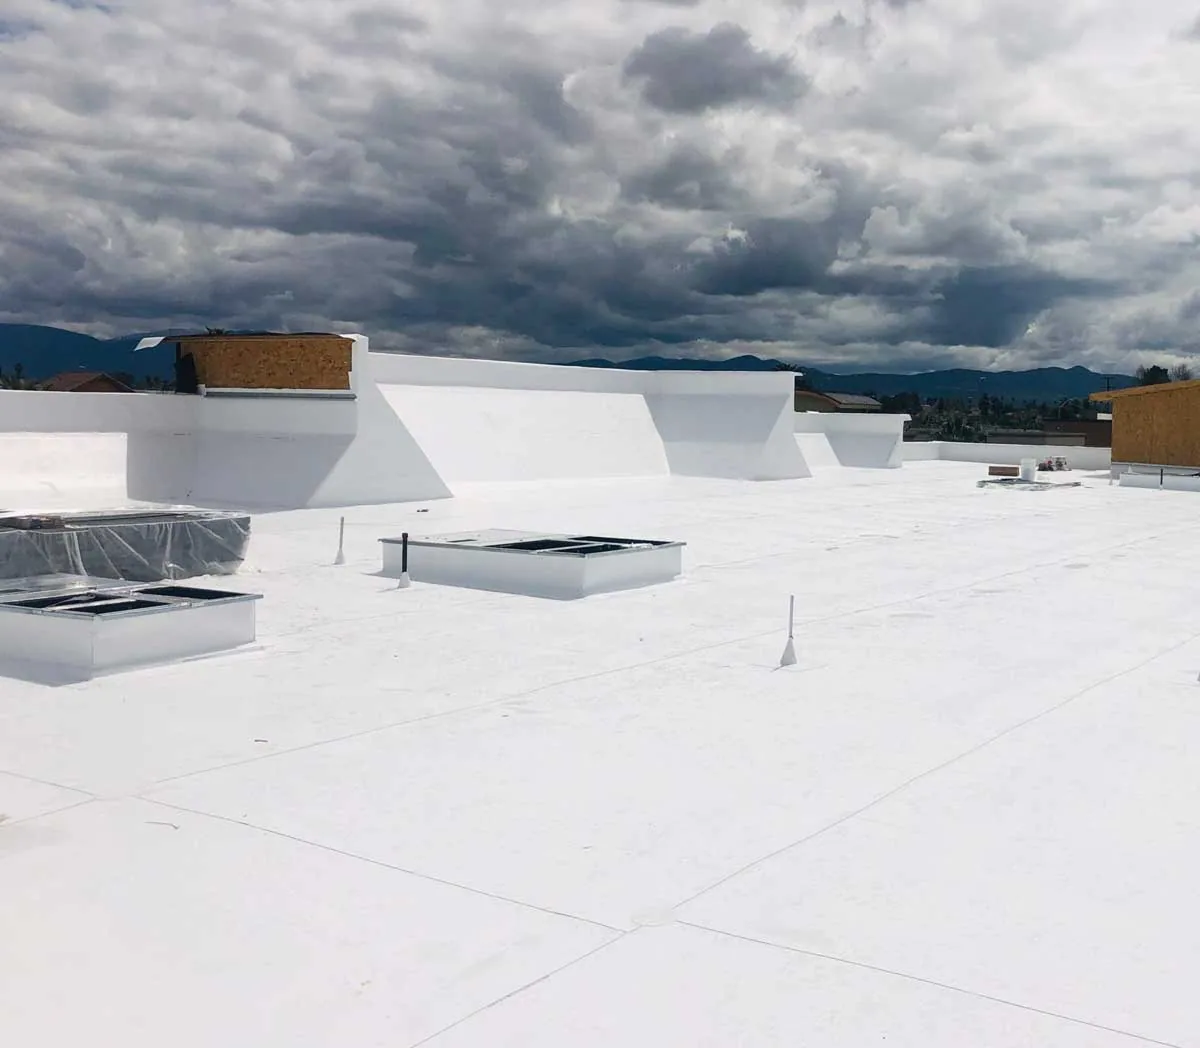
On an adhered or mechanically attached TPO roof, the equivalent finding is fastener back-out and a billowing sheet that has pulled away from the substrate. In either case the repair target is the attachment, and a patch laid over a lifted area without restoring the attachment will open again at the next gust.
Does the harbor barrier or the hill site change the exposure?
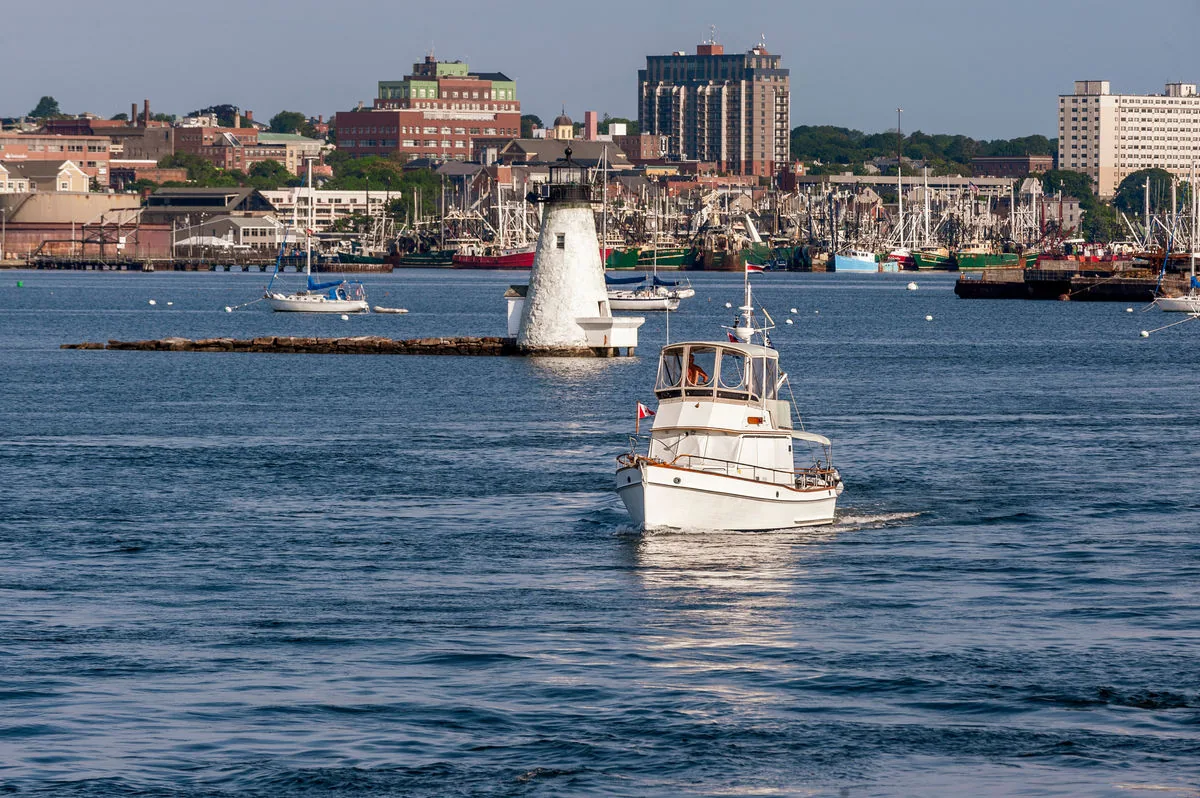
The roughly two-mile hurricane barrier built in the 1960s protects the inner harbor where the fishing fleet ties up, so buildings near the New Bedford waterfront sit behind a storm gate while still standing in a coastal wind zone. The barrier restrains water. It does nothing for a loose coping joint three stories up.
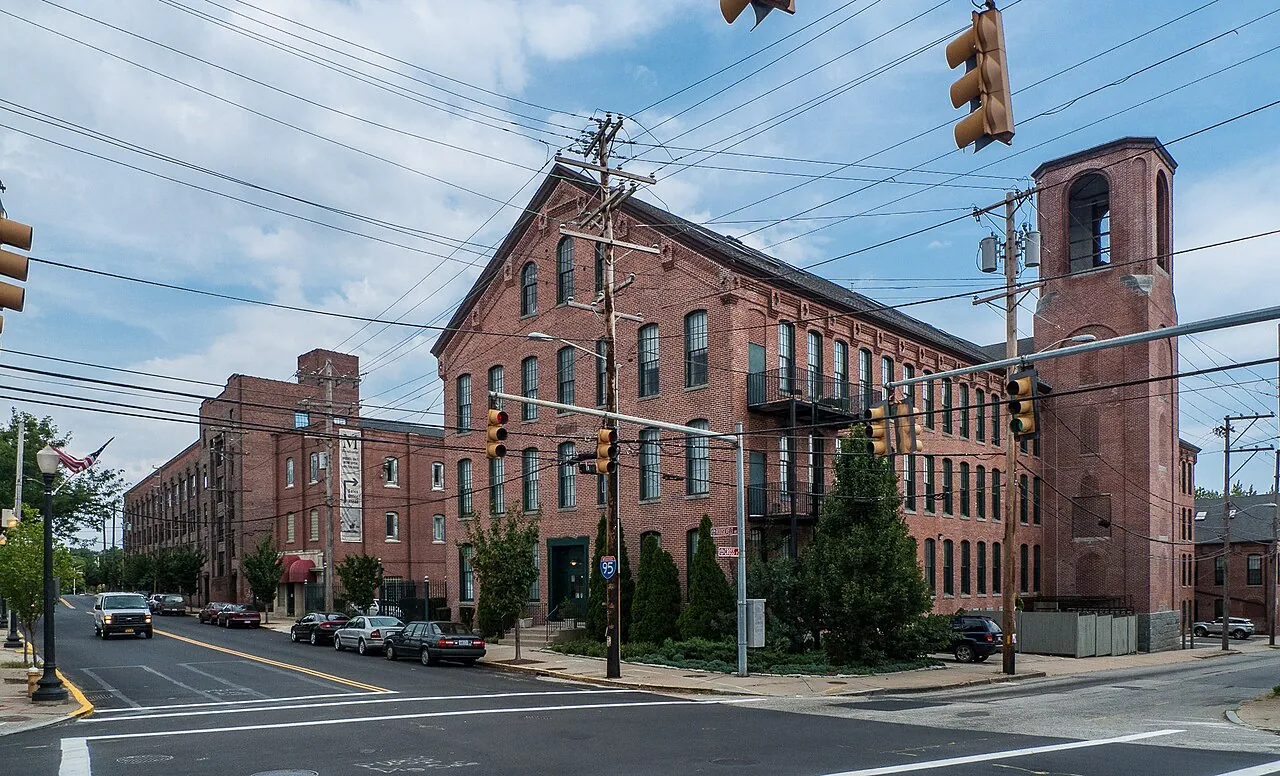
Hillsides in Fall River rise more than 200 feet from the water, so upland industrial buildings such as those in the Fall River Industrial Park meet wind differently from a warehouse on the waterfront. We read each roof for its own exposure instead of assuming that distance from the water means a calmer perimeter.
What gets secured first, and what waits for dry weather?
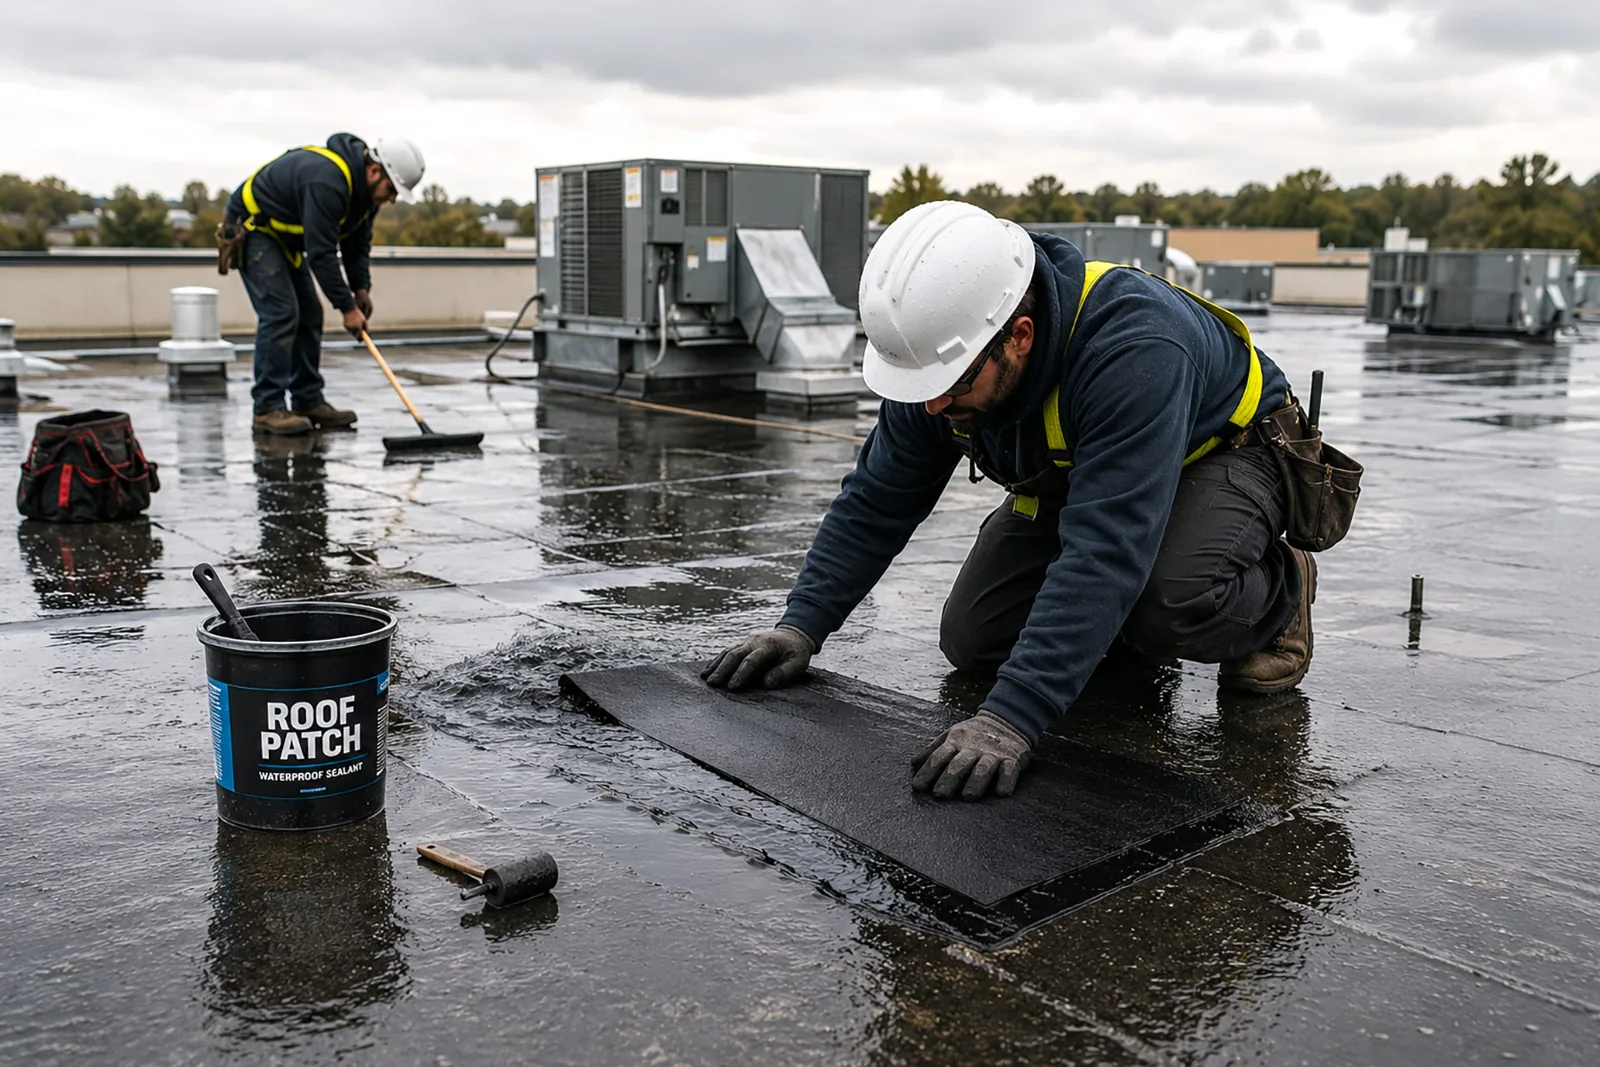
If the membrane is open and rain is coming, the first task is a temporary closure, a strapped edge or a sealed opening, so the insulation stays dry, and we tell the facility contact exactly what that temporary work covers. An emergency roof repair visit of that kind is a pause, not the repair.
The permanent work follows once the surface is dry enough for adhesives and welds to hold. Before it starts we cut a core beside the lift to check whether wind-driven rain reached the insulation, because a new patch over wet board only hides the problem. Photographs taken before cleanup go into the file for any insurance claim.
When is repair enough, and when does the scope grow?
A lift confined to one corner, over dry insulation, with sound membrane around it, is a repair job, and the repair is to reset the edge, replace the torn sheet and tie it back into good material. When lift has appeared at several corners, the fastener pattern is failing across the field, or the edge metal has corroded along an entire wall, the scope grows toward perimeter replacement or a full reroof.
Both paths come with cost drivers and expected life, and the owner walks the roof with us before a quote exists. The storm damage repair record we leave behind separates fresh damage from older wear, which is the distinction an adjuster will ask about first.
One more factor changes the answer: fatigue. Edge metal that has flexed through years of gusts can look straight and still be work-hardened, and when we find that on one wall we examine the rest, along with the flashing at every transition that shares the same movement.
Commercial Roofing Questions
Can a lifted membrane corner be re-adhered without replacing the sheet?
Only when the bond failure is local, the sheet has not stretched and the insulation underneath is dry. Most lifted corners have creased or lost their adhesive, so the membrane at the fold is what we test with a probe before choosing.
Should we strap the roof before the next storm?
Strapping makes sense when a corner is open and the forecast is wet. The test is whether the temporary closure can keep water out of the insulation until dry weather returns, and we place it so it can be removed without damaging sound membrane.
How do we know whether the damage came from wind or from age?
Pattern settles it. Wind damage clusters at corners and windward edges with creases pointing back to a loose detail, while age shows as crazing, thin spots and weld failures across the field. We mark which is which on the plan.
What does a gravel stop repair involve?
We remove the damaged section, inspect the cleat and the substrate behind it, and set new metal with the correct fastener spacing and a sealed lap. The cleat condition decides the cost, because a corroded cleat means the replacement has to run further along the wall.
Will repairs after a blow affect a manufacturer warranty?
Read the document for its wind limits and its repair conditions before work begins. Notice matters most, since some warranties require it before changes. We repair with compatible materials and keep photographs of each step so the file is complete.
What documents should come with the repair record?
Dated photographs of each lifted area, the roof plan with numbered findings, the materials used and a note of anything left open. Traceability matters here, since an adjuster or a warranty reviewer will want to match each repair to a location.
Ready to review the roof scope?
Request a Roof AssessmentKeep Reading